Long sequences may drift
A subject, costume, prop, or setting can change as a sequence becomes longer or more complex.
Workaround
Break the idea into shorter shots and describe the continuity details again in each prompt.
Beginner video guide
This ltx ai tutorial for beginners walks from a simple idea to a usable video draft. Start with one clear scene, describe motion precisely, and improve the result through small, deliberate revisions.
Start with one scene
Treat your first generation as a visual draft rather than a final export. The process becomes easier when each step has one clear job.
Choose one subject, one setting, one action, and one camera idea. A focused shot gives the model fewer competing instructions and makes the result easier to judge.
Describe the subject first, then the action, environment, lighting, mood, framing, and movement. Use concrete visual language instead of broad phrases such as “make it cinematic.”
Create the clip, then watch it for motion, composition, consistency, and unwanted details. Note one or two specific changes before making another version.
Adjust only the weakest part of the prompt at a time. Changing the action, camera, and style together makes it difficult to learn what improved the output.
Before you begin
You do not need editing experience to start, but a little preparation makes the first generation more useful and the revision process much faster.
Without every one of these the route does not run.
A single video idea that can be shown in one short scene
Keep the first concept simple rather than combining several locations or actions.
A clear subject and visible action
For example: a cyclist turns onto a quiet street, or a glass tumbler fills with water.
A preferred visual direction
Choose a mood, time of day, lens feel, or color direction instead of listing every possible style.
A basic way to review video
You only need to watch the result and identify what should change in the next prompt.
Skip any of these and the route still works — they only make it faster.
A reference image or rough storyboard
Optional, but useful when composition, color, or character appearance matters.
A finished script or long multi-scene treatment
Not needed for a first test; begin with one shot and expand after the visual direction works.
Keep exploring
These related guides cover nearby parts of the workflow, from choosing a starting surface to understanding the tools behind the generation process.
Set realistic expectations
A beginner workflow is more reliable when you know where generation tends to be uncertain and how to design around those limits.
A subject, costume, prop, or setting can change as a sequence becomes longer or more complex.
Workaround
Break the idea into shorter shots and describe the continuity details again in each prompt.
Signs, labels, subtitles, and small lettering may appear misspelled, warped, or inconsistent between frames.
Workaround
Generate the visual without critical text, then add exact wording during editing.
Hands, objects touching one another, crowded scenes, and multi-step actions are harder to control than a single visible movement.
Workaround
Simplify the action, use a closer framing, and make the key movement the only major action in the shot.
Generation may provide a strong clip, but it does not automatically create a complete story, polished pacing, sound mix, or brand-safe final cut.
Workaround
Select the strongest takes, trim them, add audio and titles separately, and review the finished sequence before publishing.
Learn by comparing
The most useful improvement is often a small prompt change that makes the subject, action, and camera direction more specific.
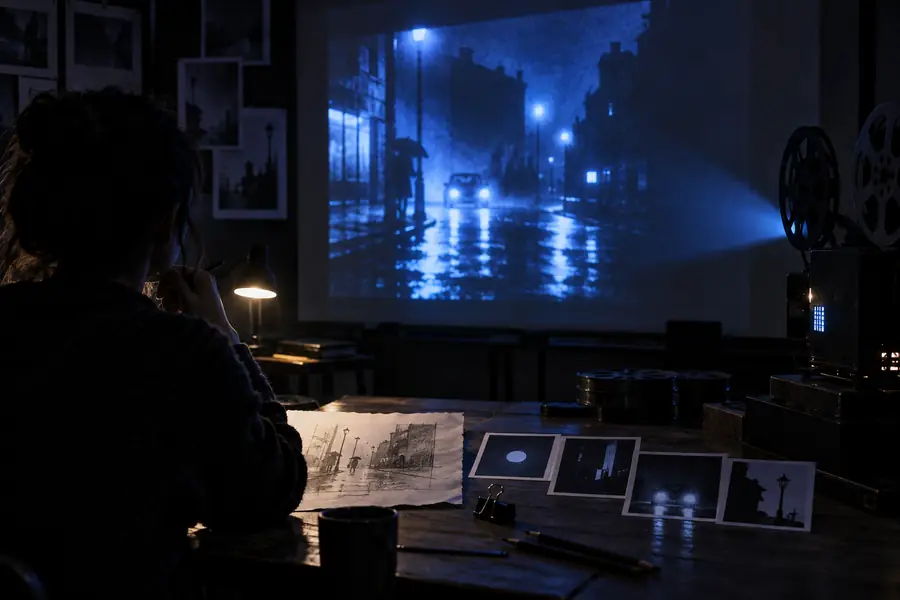 Loose prompt
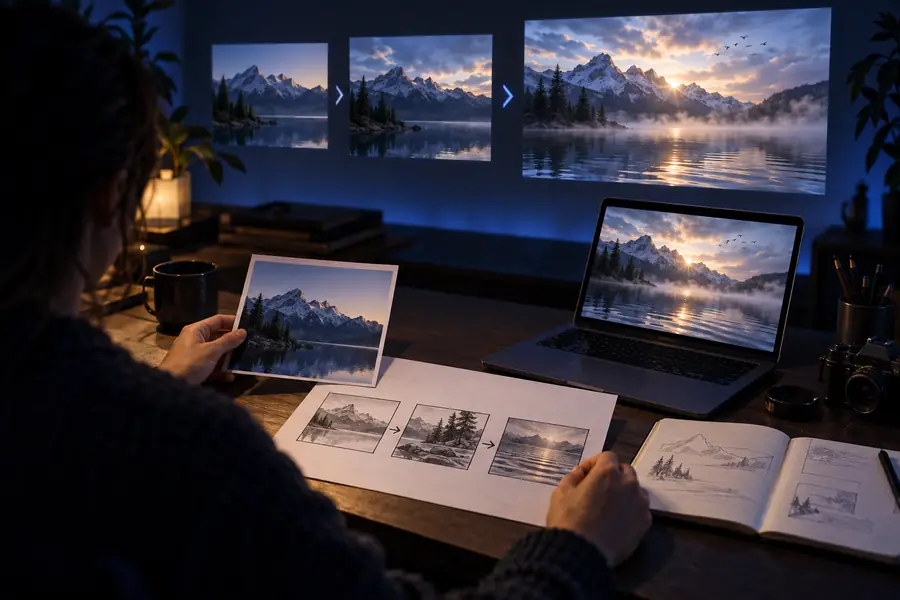 Refined prompt
Quick answers
Use these answers as a short checklist while planning and refining your first generation.
Start with one short scene that has a clear subject and one visible action. A simple shot, such as an object moving through a setting, is easier to evaluate than a complete multi-scene story.
Describe the subject and action first, then add the setting, camera framing, lighting, mood, and movement. Replace vague instructions with observable details, and avoid asking for several unrelated actions in the same shot.
Video generation interprets language probabilistically, so ambiguous wording and crowded instructions can produce unexpected results. Make the prompt shorter, clarify the main action, and revise one variable at a time.
No. A text description is enough for a first test, and starting with text helps you learn how the system responds to your wording. Add a reference image when composition, appearance, or color consistency is especially important.
There is no fixed number. Generate a small set of focused variations, keep the strongest direction, and change only the weakest part of the prompt before testing again.